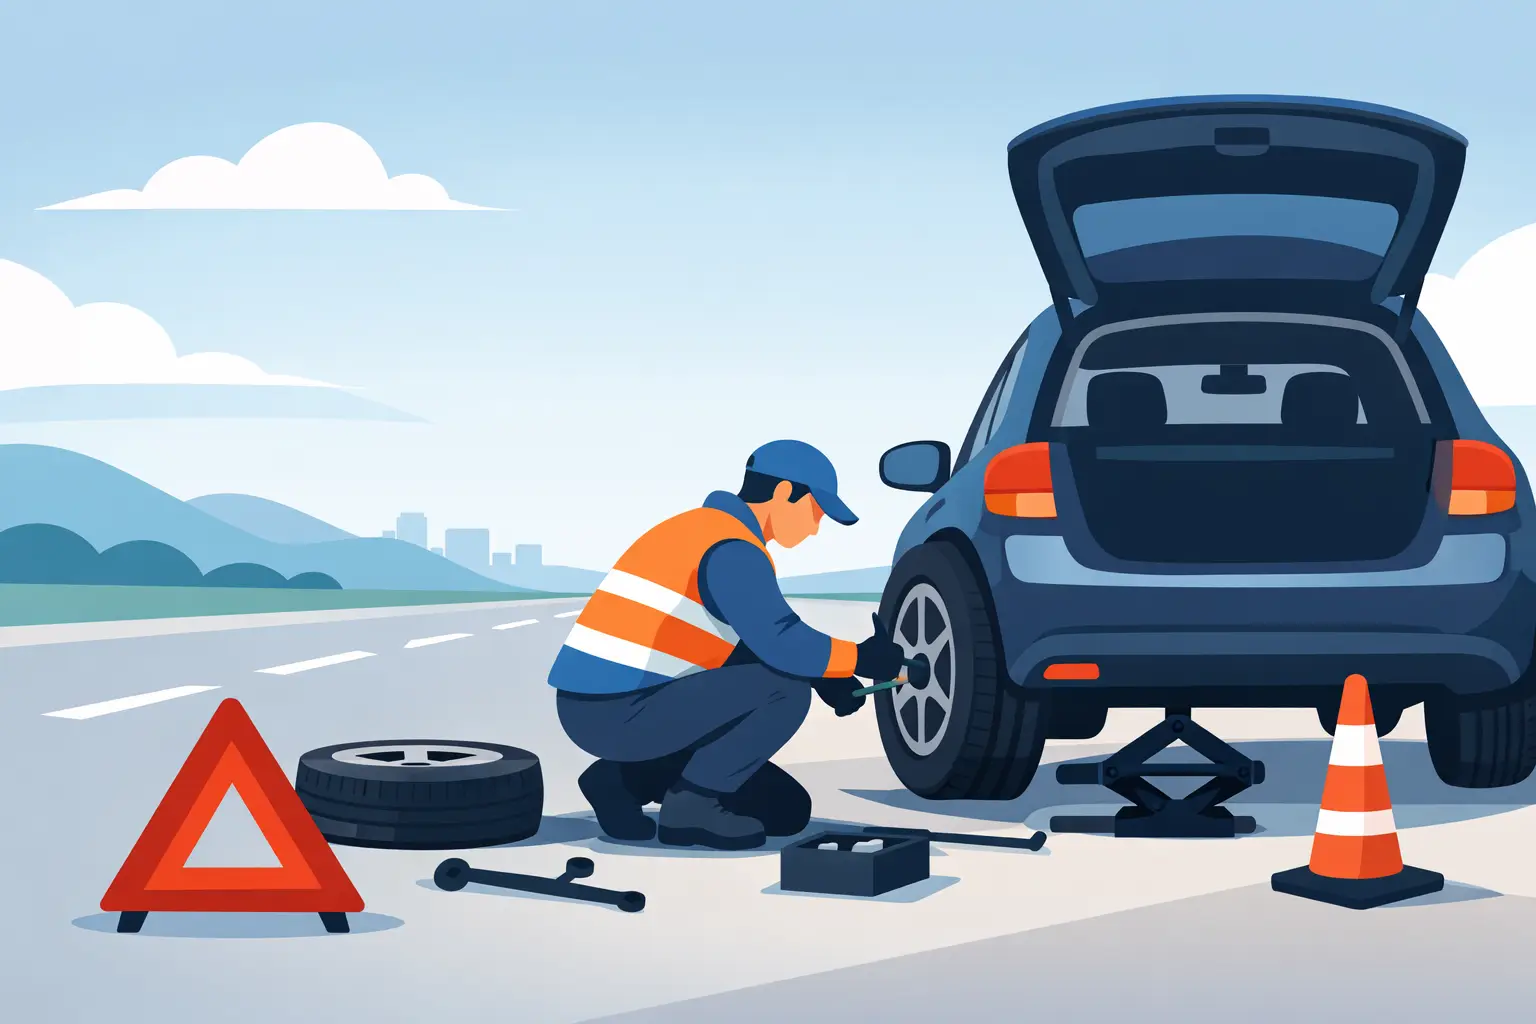
A flat tire on Loop 303, I-10, or a busy West Valley surface street can turn from inconvenient to dangerous in minutes. Knowing how to change a flat tire can help when conditions are safe, but getting the vehicle off the travel lane matters more than finishing the job quickly. If traffic is moving fast, the shoulder is narrow, the ground is unstable, or you are unsure about the damage, roadside assistance is the safer call.
Before You Change a Flat Tire, Get to a Safe Spot
Do not brake hard or make a sudden turn when you feel a tire go flat. Ease off the accelerator, hold the steering wheel firmly, turn on your hazard lights, and guide the vehicle toward a level area away from moving traffic. A parking lot, frontage road, wide shoulder, or designated pullout is far better than stopping beside a freeway lane.
Avoid soft dirt, a sloped shoulder, loose gravel, or hot, damaged asphalt whenever possible. A jack can sink or shift on an unstable surface, and a vehicle that moves while lifted can cause serious injury or vehicle damage. In Arizona summer heat, also consider your own safety. If you are stranded in direct sun, stay hydrated and avoid working near traffic longer than necessary.
Once parked, put an automatic vehicle in Park or a manual transmission in first gear or Reverse. Set the parking brake. Keep passengers safely away from traffic, preferably inside the vehicle with seat belts fastened if conditions allow. If a wheel is flat on the traffic-facing side of the vehicle, do not stand between the vehicle and passing cars. That is a situation where a trained roadside operator is the better option.
Tools You Need to Change a Flat Tire
Most vehicles come with a temporary spare, jack, and lug wrench, though the tools are often stored beneath the cargo floor or behind an interior panel. Check your owner’s manual before an emergency happens so you know where everything is and where the approved jack points are.
For a safer tire change, have these items available:
- A properly inflated spare tire or tire repair kit approved for your vehicle
- Vehicle jack and lug wrench
- Wheel chocks, blocks, or sturdy pieces of wood
- Flashlight, gloves, and reflective vest or warning triangles
- Tire pressure gauge and portable inflator
Not every vehicle has a spare. Many newer cars, luxury vehicles, and performance models come with a sealant-and-inflator kit instead. That kit may not work for a sidewall cut, a damaged wheel, a large puncture, or a tire that has come apart. Run-flat tires are another exception. They can sometimes be driven for a limited distance after pressure loss, but only according to the vehicle and tire manufacturer’s limits.
Inspect the Damage First
Look at the tire before lifting the vehicle. A nail or screw in the tread may be repairable later, but a torn sidewall, exposed cords, bent wheel, or shredded tire requires a spare or tow. Do not attempt to pull out a nail or screw at the roadside. It may be slowing the air loss.
If the tire blew out, the wheel is damaged, or the vehicle is sitting too low to safely position a jack, stop there. Continuing to drive on a flat tire can destroy the wheel, damage suspension components, and make a straightforward repair much more expensive.
How to Change a Flat Tire Step by Step
Start by placing wheel chocks behind the rear tires if you are changing a front tire, or in front of the front tires if you are changing a rear tire. If you do not have chocks, use sturdy blocks only on stable ground. Never rely on the parking brake alone.
1. Remove the Wheel Cover and Loosen the Lug Nuts
If your vehicle has a hubcap or wheel cover over the lug nuts, carefully remove it using the tool supplied with the vehicle or the flat end of the lug wrench. Keep the cover and hardware where they will not roll into traffic.
Place the lug wrench fully onto the first lug nut and turn it counterclockwise. Loosen each nut about a quarter to half turn while the tire is still on the ground. Do not remove the nuts yet. The vehicle’s weight keeps the wheel from spinning while you break the nuts loose.
Lug nuts can be extremely tight, particularly if they were installed with an impact gun. Use controlled force and keep your footing stable. Do not jump on the wrench or use an extension pipe unless your vehicle manufacturer specifically supports that approach. Slipping can cause injury, broken studs, or damage to the wheel.
2. Position the Jack at the Correct Lift Point
Find the factory jack point in your owner’s manual. It is usually reinforced metal along the pinch weld or frame area near the affected wheel. Using the wrong point can bend body panels, crack underbody covers, or allow the vehicle to slip.
Set the jack on firm, level ground directly beneath that lift point. Raise the vehicle slowly until the flat tire is about two inches off the ground. You only need enough clearance to remove the flat tire and install the spare. Never place any part of your body under a vehicle supported only by a jack.
3. Remove the Flat Tire
Finish removing the lug nuts and place them together in a clean, secure spot. Pull the wheel straight toward you. If it seems stuck from rust or corrosion, do not crawl under the vehicle or strike the wheel aggressively. A firm pull or gentle rocking may free it, but a seized wheel is another reason to request assistance.
Lay the flat tire flat on the ground rather than standing it upright. A standing wheel can roll unexpectedly, especially on a shoulder with even a slight slope.
4. Install the Spare and Tighten the Lug Nuts
Align the wheel holes with the studs and push the spare straight onto the hub. Install the lug nuts by hand first to avoid cross-threading. Tighten them in a star pattern, moving across the wheel rather than around it in a circle. This helps the wheel seat evenly against the hub.
Do not fully torque the lug nuts while the tire is in the air. Snug them with the wrench, then lower the vehicle until the tire contacts the ground and cannot spin. Lower the vehicle completely, remove the jack, and tighten the lug nuts again in the same star pattern.
Your owner’s manual provides the correct torque specification. A roadside lug wrench is meant to secure the wheel temporarily, but a tire shop should check the torque with a calibrated wrench as soon as practical.
5. Check the Spare Before Driving Away
Put the flat tire, jack, wrench, and wheel cover back in the vehicle. Check the spare tire pressure if you have a gauge. A low spare is not safe to drive on, even if it looks inflated.
Most compact spares are temporary-use tires. They commonly have a maximum speed of 50 mph and are not intended for long trips, heavy loads, off-road use, or extended freeway driving. Their exact limits are printed on the tire sidewall. Drive carefully to a repair facility and have the damaged tire inspected or replaced promptly.
When Not to Change the Tire Yourself
A tire change is not worth the risk when your location or vehicle condition makes the work unsafe. Call for professional roadside help if you are on a freeway shoulder with fast traffic, near a blind curve, on a narrow road, in severe heat, at night without safe visibility, or on soft or uneven ground.
You should also call when you do not have a usable spare, the lug nuts will not loosen, the wheel is damaged, or the vehicle has specialty lifting requirements. Low-profile, luxury, classic, exotic, and modified vehicles may need specific lift points, pads, or loading methods to prevent damage. The wrong jack placement can turn a flat tire into body, suspension, or undercarriage repairs.
For drivers in Surprise, Peoria, Glendale, Sun City, Waddell, and throughout the Metro Phoenix corridor, Pride Transport & Towing can provide 24/7 flat-tire assistance when the roadside is not a safe place to work. A trained operator can assess the tire, install a usable spare when appropriate, or transport the vehicle when a repair cannot be safely completed on-site.
A spare tire is a short-term solution, not a reason to put off repair. Once you are out of danger, slow down, keep the hazards in mind, and get the damaged tire and wheel checked by a qualified tire professional before your next long drive.