
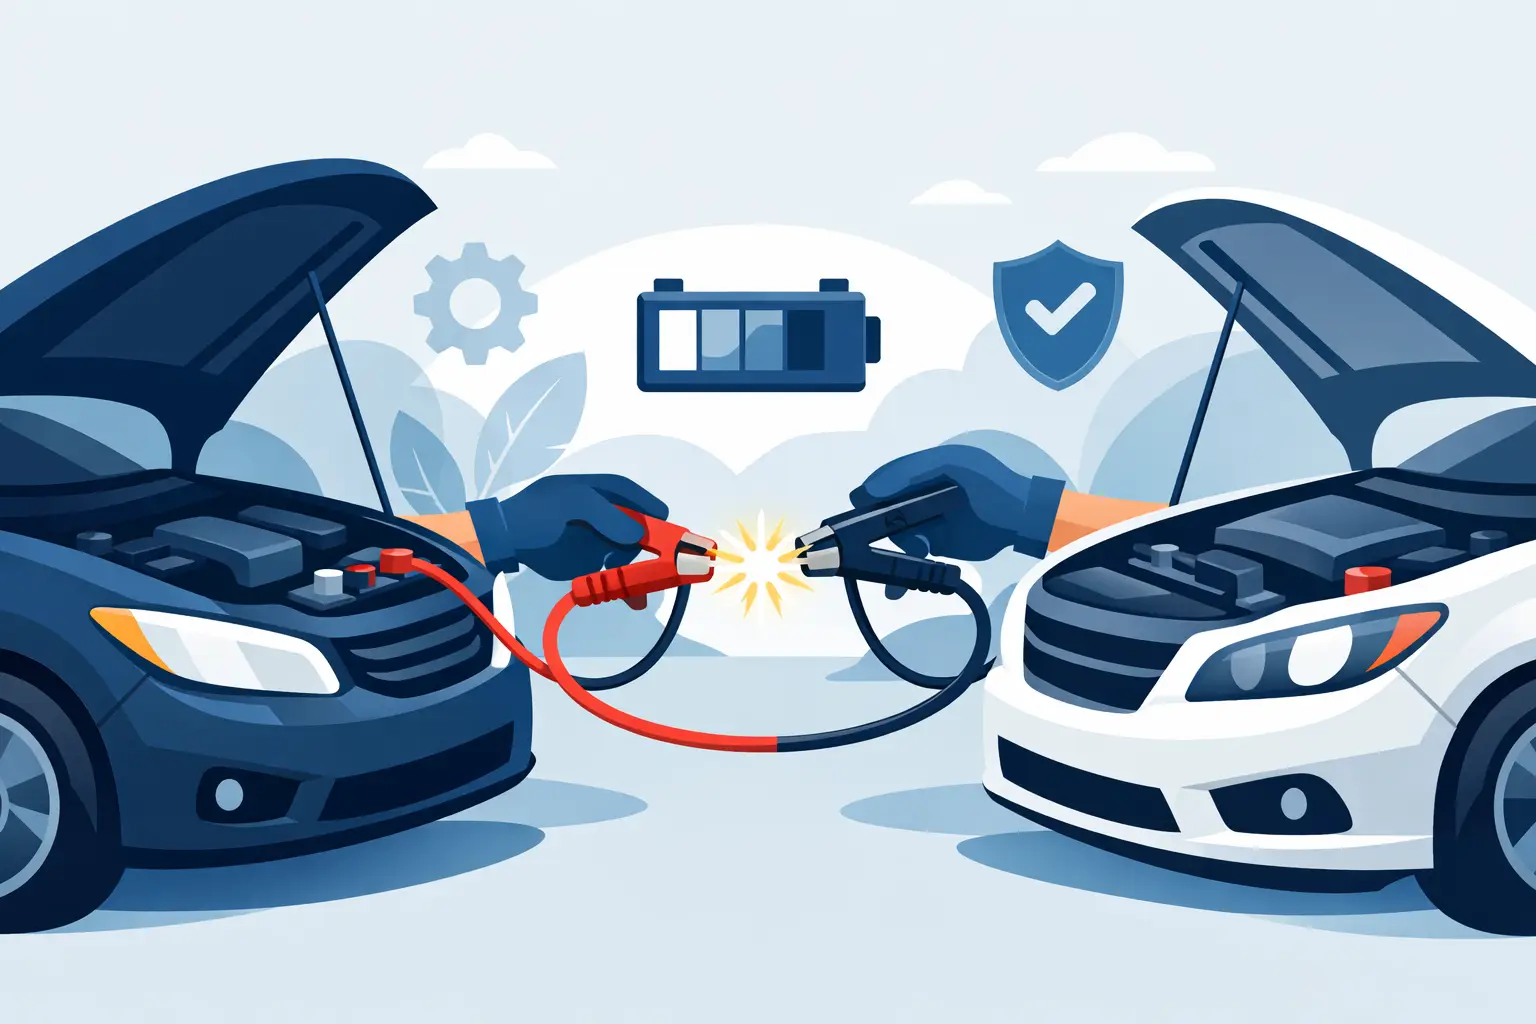
A dead battery can turn a quick stop in Surprise or a drive on Loop 303 into a stressful roadside problem fast. Knowing how to jump start safely can get you moving again, but only when the battery, cables, and vehicle are in safe condition. A rushed connection or a spark near a leaking battery can create a bigger repair bill than the original no-start.
Arizona heat is especially hard on batteries. High temperatures shorten battery life, accelerate internal wear, and can leave a vehicle with enough power for lights but not enough cranking power to start the engine. Before connecting jumper cables, take a minute to assess the scene and make sure a jump start is actually the right solution.
Before You Jump Start, Make the Area Safe
Move both vehicles to a stable, well-ventilated location away from moving traffic. If you are on I-10, US-60, I-17, or another high-speed route, do not attempt a roadside jump from the travel lane or narrow shoulder. Turn on hazard lights, stay aware of traffic, and call for professional roadside assistance if there is not enough safe working room.
Put both vehicles in Park or Neutral, set the parking brakes, and turn off the ignitions. Remove keys or keep key fobs away from the vehicles where practical. Turn off headlights, climate control, audio systems, chargers, and other electrical accessories. This reduces the electrical load when the disabled vehicle starts.
Next, inspect the battery before touching the terminals. Do not jump start a battery that is cracked, swollen, leaking fluid, severely corroded, or giving off a strong rotten-egg smell. Those signs can point to a damaged battery that may vent flammable hydrogen gas. A jump is not worth the risk of an explosion, acid exposure, or damage to the vehicle.
If you have safety glasses and gloves, use them. Keep loose clothing, jewelry, and tools away from belts, fans, and battery terminals. Even with the engine off, a battery can produce enough current to heat metal quickly and cause a serious burn.
How to Jump Start Safely With Jumper Cables
Start by confirming that both vehicles use a standard 12-volt electrical system. Most passenger cars, SUVs, and light trucks do, but always check the owner’s manual if there is any doubt. Some vehicles have designated remote jump points under the hood rather than an easily accessible battery. Use those points when the manufacturer specifies them.
Place the donor vehicle close enough for the cables to reach without stretching, but never let the vehicles touch. Contact between vehicles can create an unwanted electrical path and raises the risk of damage while you work.
Connect the cables in this order:
- Attach the red positive clamp to the positive terminal on the dead battery. The positive terminal is usually marked with a plus sign or a red cover.
- Attach the other red clamp to the positive terminal on the donor battery.
- Attach the black negative clamp to the negative terminal on the donor battery.
- Attach the final black clamp to a clean, unpainted metal ground on the disabled vehicle, away from the battery, fuel system, and moving engine parts.
That last connection matters. Connecting the final negative clamp to a solid engine block bracket or factory grounding point helps keep any final spark away from battery gases. Never allow the clamp ends to touch each other once they are connected to a battery.
With the cables secure, start the donor vehicle. Let it idle for a few minutes. There is no need to rev the engine aggressively. High revving does not charge the dead battery much faster and can place unnecessary strain on the donor vehicle’s electrical system.
Then try to start the disabled vehicle. Crank it for no more than about five seconds at a time. If it does not start after two or three attempts, stop. Repeated cranking can overheat the starter, drain the donor battery, and point to a problem beyond a weak battery.
Once the disabled vehicle starts, leave it running and remove the clamps in the reverse order: black clamp from the previously disabled vehicle, black clamp from the donor vehicle, red clamp from the donor vehicle, then red clamp from the revived vehicle. Keep the clamps from touching while you remove them.
A Jump Start Is Not Always the Answer
A vehicle that will not start may have a dead battery, but it could also have a failed alternator, loose battery connection, bad starter, blown fuse, immobilizer issue, or fuel-system problem. Interior lights or dashboard displays alone do not prove the battery is healthy.
A rapid clicking sound commonly suggests low battery voltage. No sound at all can indicate a poor connection, security-system issue, or starter problem. If the engine cranks normally but will not fire, a jump start is unlikely to solve the issue. In that situation, continuing to try can waste time and drain both batteries.
If the vehicle starts but the battery warning light stays on, avoid driving farther than necessary. The alternator may not be charging the battery. If the engine dies again shortly after removing the cables, the battery may be too weak to hold a charge or the charging system may have failed. A safe tow to a repair facility is often the better decision than being stranded again in heavier traffic or desert heat.
Special Considerations for Newer, Luxury, and Electric Vehicles
Modern vehicles have sensitive electronics, multiple modules, and manufacturer-specific jump procedures. Luxury, exotic, collector, and low-profile vehicles can also have battery locations or approved jump terminals that are not obvious. Using the wrong connection point can damage components or create a fault that requires diagnostic service.
Check the owner’s manual before attempting a jump on any newer vehicle. If the manual calls for a jump pack, a remote terminal, or a specific sequence, follow it exactly. Do not assume that a battery under the seat, in the trunk, or behind trim panels should be accessed directly.
Electric and hybrid vehicles need additional care. Many have a 12-volt battery that can be jump started only through approved terminals, but the high-voltage battery system must never be touched, opened, or used for a conventional jump. If you are unsure which system you are looking at, stop and call a trained roadside professional.
Portable jump packs can be a smart alternative to another vehicle when used correctly. Choose a unit rated for your engine size, keep it charged, and connect it according to its instructions. The same rules still apply: inspect the battery, verify polarity, make the final ground connection away from the battery, and do not use a damaged jump pack or frayed clamps.
What to Do After the Vehicle Starts
Do not assume the problem is solved just because the engine is running. Drive directly to a safe destination, battery retailer, or repair shop rather than shutting the vehicle off at the next stop. A short drive may not restore a deeply discharged battery, especially with air conditioning running during a West Valley summer.
Have the battery and charging system tested as soon as possible. Most batteries in Arizona have a shorter service life than drivers expect because of prolonged heat exposure. A test can reveal whether the battery simply needs replacement or whether the alternator, cable connections, or another component needs attention.
Also take a look at the battery terminals after the immediate emergency is over. White, blue, or green buildup can interfere with charging and starting. Clean connections and proper terminal protection can prevent a future no-start, but do not clean a cracked or leaking battery yourself.
When the location is unsafe, the battery is damaged, or the vehicle has specialty electronics, the safest move is to stop troubleshooting at the roadside. Pride Transport & Towing provides 24/7 jump-start and towing assistance across Surprise, the West Valley, and Metro Phoenix, with the equipment to protect both you and your vehicle. A careful call now can save you from a second breakdown later.